Fujifilm FinePix AX200 uses 2x AA batteries (NiMH rechargeable recommended). When buying used, confirm the seller includes a working charger or plan to add one. See the battery guide for charger and spare-battery checks.
What memory card does the Fujifilm FinePix AX200 take?
Fujifilm FinePix AX200 uses SD / SDHC. The current buyer-facing maximum is Up to 32GB (SDHC); for older or unusual formats, stay within that limit and avoid oversized cards. See the memory card guide before buying cards for older cameras.
Is the Fujifilm FinePix AX200 worth buying used?
It can be worth buying if you want a 14 MP effective Fujifilm digital camera from 2010 with 1/2.3 -in., square-pixel CCD. Check power, lens movement, screen condition, and storage access before paying. Run the used digital camera checklist before buying. For nearby Fujifilm options, compare Fujifilm FinePix AV250 and Fujifilm FinePix AX250.
How do you transfer photos from the Fujifilm FinePix AX200?
The simplest transfer path is usually to remove the memory card and use a compatible card reader. If the camera uses internal storage or a rare card format, confirm the cable or reader before buying. The card reader guide and photo transfer guide cover the common options.
Fujifilm FinePix AX200 is worth judging as its own Fujifilm entry compact body, not just as a generic old compact. Start with condition, the exact battery/card setup, and whether its look fits what you want to shoot.
What owners like
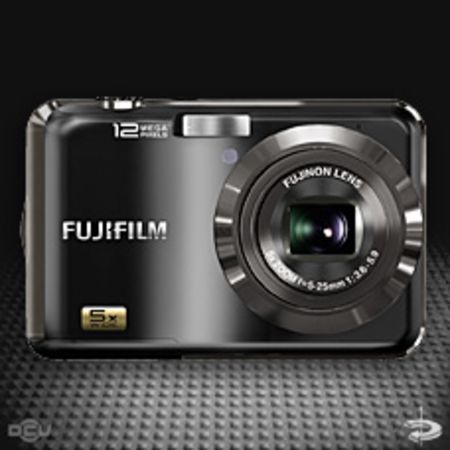
Fujifilm FinePix AX200 works best when you want starter-friendly simple snapshots, direct flash, and low-pressure learning rather than a technically perfect modern camera; its 1/2.3 -in., square-pixel CCD and Fujinon 5 × optical zoom lens, F3.6 (wide angle) - F5.9 (telephoto) are the main character of the look.
Common complaints
Check the lens movement, flash, screen, buttons, and card door calmly before relying on it; older compact bodies can need a little patience without being a bad buy.
What to compare
Compare it with Fujifilm FinePix A100, Fujifilm FinePix A170, Fujifilm FinePix A150, Fujifilm FinePix A860 to decide whether you want this exact body, a cheaper nearby compact, or a slightly more capable alternative.